Implementing Custom Authentication in Django
When all other options fail, make your own.
Photo by pch.vector from Freepik.
Introduction
This tutorial will take you from absolute zero to a fully-working custom authentication system in Django.
Django comes with built-in authentication backends that make it really easy to get started and meet most projects’ needs. There are also a slew of Django apps (such as django-allauth) that have been written to integrate with identity providers such as Google and GitHub.
But what do you do when even these don’t meet your needs?
For example, I was recently attempting to integrate a Django application with a Keycloak backend, and found that existing libraries such as:
either did not work as advertised (though PEBKAC errors are not unlikely here) or did not work in exactly the way I needed. My only option was creating my own custom authentication backend. This sounds like a complicated thing to do, but is actually really simple.
I’ve included a TL;DR right up front if you already know a bit about Django. The code is also on GitHub.
TL;DR - Just Gimme the Answer
In a rush? Here’s the answer:
settings.py
# ./mysite/settings.py

INSTALLED_APPS = [
    # ... other apps
    "django.contrib.auth",
    # ... other apps
    "my_custom_authentication",  # Or whatever your app is called
]

# ...

AUTHENTICATION_BACKENDS = [
    "my_custom_authentication.backends.MyCustomAuthenticationBackend",
]
my_custom_authentication_backend.py
# ./my_custom_authentication/backends/my_custom_authentication_backend.py
from django.contrib.auth.backends import BaseBackend
from django.contrib.auth import get_user_model # Important for custom User objects


class MyCustomAuthenticationBackend(BaseBackend):
    def authenticate(self, request, username=None, password=None):
        user = # ... some custom logic such as an API call to an identity provider

        # Return None if authentication fails, or a User object if authentication succeeds
        return user or None
If the above doesn’t make much sense, follow the complete tutorial below:
Starting the application
Poetry
Let’s start by creating a Poetry (you could simply
use pip if you prefer) configuration file for the project. If not installed,
please install Poetry.
poetry init
Fill in your details, and choose to not define your dependencies interactively.
Once complete, open the pyproject.toml file and ensure that it has content
similar to:
[tool.poetry]
name = "your-application-name-here"
version = "0.1.0"
description = ""
authors = ["Your Name <your-email@example.com>"]

[tool.poetry.dependencies]
python = "^3.10"
Django = "^4.0.5"

[tool.poetry.dev-dependencies]

[build-system]
requires = ["poetry-core>=1.0.0"]
build-backend = "poetry.core.masonry.api"
Then open up a Poetry virtual environment and install the dependencies in it:
poetry shell
poetry install
poetry update
Check the installation of Django:
python -m django --version
# 4.0.5
Starting the Django Project and App
If you don’t already know, Django has the concept of “projects” and pluggable “apps” that you install into the project. Let’s start the project by running:
django-admin startproject mysite .
Note the trailing dot in the above command.
Now we can go ahead and create the django app.
We’ll make this application reusable, so go ahead and give it a name that suits your needs.
For example, if your ultimate goal is to authenticate with Dex or Keycloak call it something like dex_authentication or keycloak_authentication.
As a way of example, I am just going to do an in-memory authentication, so I will run:
python manage.py startapp in_memory_authentication
At this stage, we should already be able to start the Django application. Run:
python manage.py runserver
Navigate to the URL shown (usually http://localhost:8000) and you should see a lovely rocket blasting off:
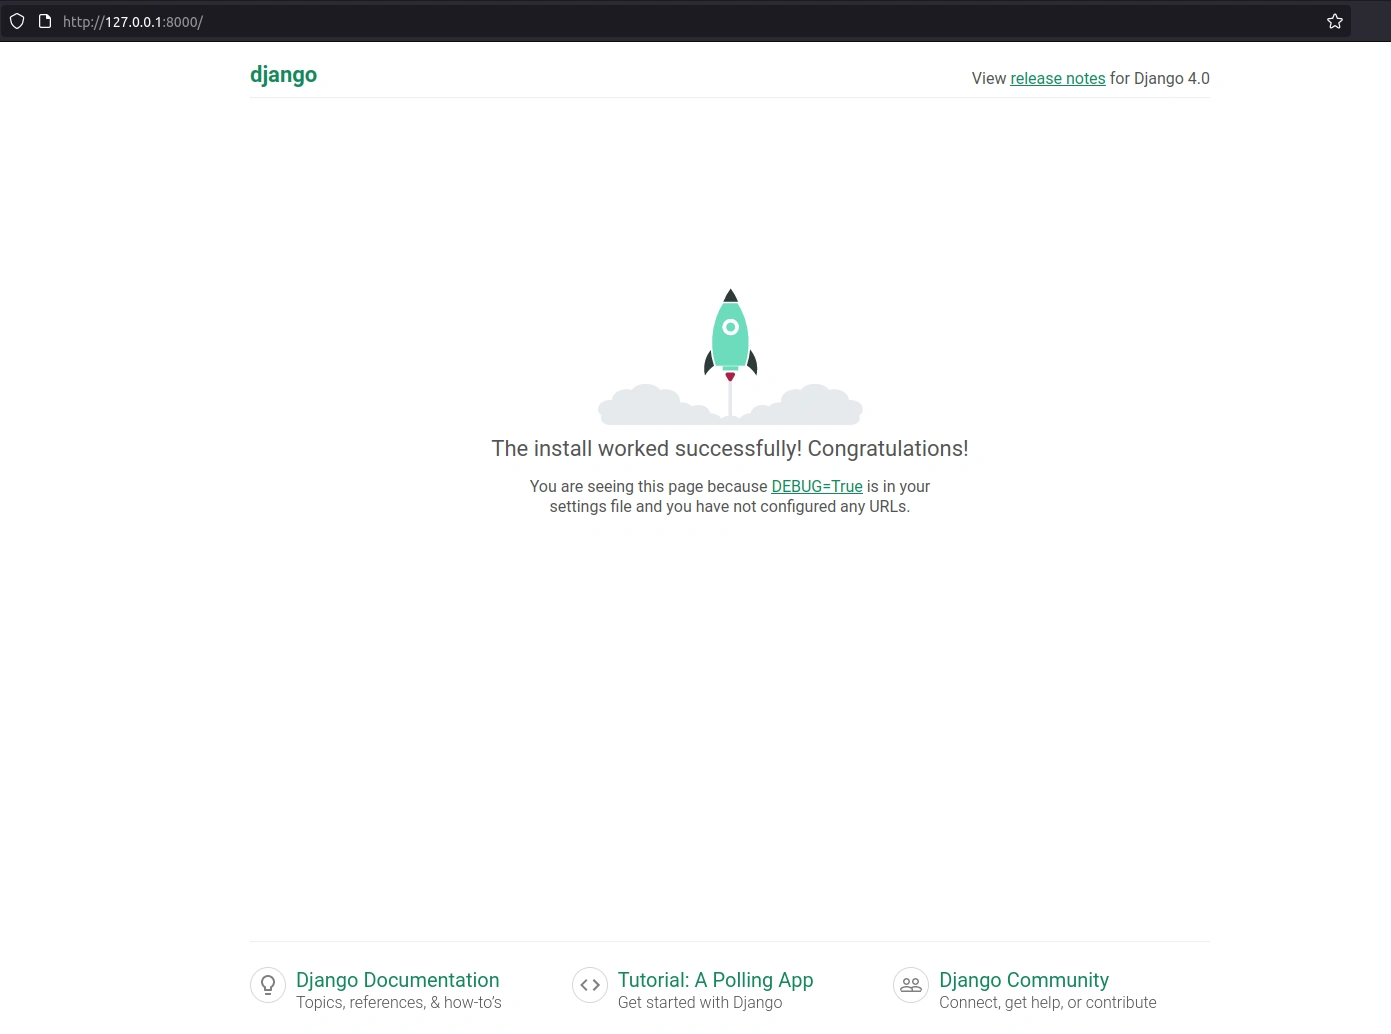
The running Django application
Understanding Django’s Default User Authentication
If don’t know already and you’re interested how Django would do normal User authentication, check out this great tutorial. Because it’s already covered so well there, I won’t cover it here, and rather just proceed to customizing our user authentication.
Implementing a Login Page
The first thing we’d need to do is include a login page for our Users to authenticate.
Go ahead and open the ./mysite/urls.py file.
Add the following marked lines to it:
from django.urls import path, include  # Added "include" here

urlpatterns = [
    path('admin/', admin.site.urls),
    path("accounts/", include("django.contrib.auth.urls")),  # Added this line
]
What this does is mount the default Views provided in the django.contrib.auth
app to a URL of our choice (in this case accounts/).
Let’s run the server again (python manage.py runserver) and this time navigate
to http://localhost:8000/accounts/login. Oops! You should get an error page
saying:
TemplateDoesNotExist at /accounts/login/
That’s because we need to define an HTML Template for the login page. Do this
by creating the following folders in the root folder (i.e. NOT the mysite nor
in_memory_authentication folders).
mkdir templates
mkdir templates/registration
Then create a login.html file in the templates/registration folder
with the following content:
<h2>Log In</h2>
<form method="post">
  {% csrf_token %}
  {{ form.as_p }}
  <button type="submit">Log In</button>
</form>
One final thing we need to do is configure our Django project to look for
templates in this folder structure. Open up the settings.py again, and look
for the TEMPLATES constant:
TEMPLATES = [
    {
        # ...
        'DIRS': [],
        # ...
    },
]
Change the DIRS value from an empty list to:
TEMPLATES = [
    {
        # ...
        'DIRS': [BASE_DIR / "templates"],
        # ...
    },
]
This instructs our Django project to look for templates in folders called
templates.
Restart the server and navigate to http://localhost:8000/accounts/login again. You should see a beautiful login form:
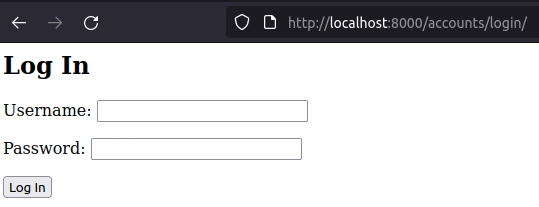
The login form. Hey, if you wanted a tutorial on CSS you came to the wrong place.
Attempting to login with details will not work, obviously, for a number of reasons:
- We have not yet migrated our database, so have no User table
- Even if we had migrated our database, we have not created any User records.
Let’s correct the first problem now. First, stop the server and then run the following command to migrate the database:
python manage.py migrate
Huh? You may be wondering at this stage where the definition of our User table comes from. It comes from the
django.contrib.authapp which is by default in theINSTALLED_APPSinsettings.py.
Rerun the server, and try to login with any details. You should see a little
message reading: Please enter a correct username and password. ...
Writing a Custom Authentication Backend
Let’s now assume that we want to always allow access to the site with a hard-coded user with the credentials:
- Username:
let_me_in - Password:
please
Of course you would never want to do this, but it does illustrate how to create the custom Django authentication backend.
First, let’s create a new folder in our ./in_memory_authentication folder
called backends. Like any Python module, it will need a __init__.py file,
so create that, and go ahead and create a file for the actual backend. I
called mine ./in_memory_authentication/backends/in_memory_authentication_backend.py.
Let’s populate this file now with the following:
# ./in_memory_authentication/backends/in_memory_authentication_backend.py

from django.contrib.auth.backends import BaseBackend


class InMemoryAuthenticationBackend(BaseBackend):
    def authenticate(self, request, username=None, password=None):
        return None
You will notice that I’m extending the BaseBackend auth backend. It has a
single function authenticate that takes in the request, as well as username
and password. The function should respond in the following way:
- Should return
Noneif the authentication attempt fails. - Should return an instance of the User model if the authentication attempt succeeds.
Let’s export this in the newly-created __init__.py file:
# ./in_memory_authentication/backends/__init__.py

from .in_memory_authentication_backend import InMemoryAuthenticationBackend
Let’s also “register” this backend with our Django app. Open up the settings.py
file and make the following two changes:
INSTALLED_APPS = [
    # ... other apps
    "django.contrib.auth",
    # ... other apps
    "in_memory_authentication",  # Install our new app here
]

# ...

# Add this to the bottom of the file:

AUTHENTICATION_BACKENDS = [
    "in_memory_authentication.backends.InMemoryAuthenticationBackend",
]
Now if we attempt to login, our custom authentication backend will be called. Of
course, we still won’t be able to login since we are always returning None from
our authenticate method.
Let’s change that now.
Open up ./in_memory_authentication/backends/in_memory_authentication_backend.py and
alter it to:
# ./in_memory_authentication/backends/in_memory_authentication_backend.py
import uuid

from django.contrib.auth.backends import BaseBackend
from django.contrib.auth.models import User


class InMemoryAuthenticationBackend(BaseBackend):
    def authenticate(self, request, username=None, password=None):
        # Replace this silly logic with whatever you need:
        if username == "let_me_in" and password == "please":

            # Create a new user
            new_user = User(username=uuid.uuid4().__str__())
            new_user.set_unusable_password()
            new_user.save()

            return new_user
        else:
            return None
This is some silly logic, and you should replace it with what you need, but it creates a new User and returns that user, thus logging them in. You should replace this with things like a call to a Dex or Keycloak API, for example.
If you now login with the credentials let_me_in and please, you should
successfully authenticate.
Of course, we have not built any pages after the user logs in, so you should get
a 404 Page not found error at this stage.
Catering for Custom User Classes
You’ll notice above that I am returning an instance of the django.contrib.auth.models.User
class. However, not all Django projects will use this, and it is therefore
better to make use of the get_user_model() function to find what class this
project uses. Further, we can extract the finding of the user into a method:
# ./in_memory_authentication/backends/in_memory_authentication_backend.py
import uuid

from django.contrib.auth.backends import BaseBackend
from django.contrib.auth import get_user_model


class InMemoryAuthenticationBackend(BaseBackend):
    def authenticate(self, request, username=None, password=None):
        return self.find_user(username, password)

    # Replace this silly logic with something better, such as an API call to
    # an identity provider:
    def find_user(self, username, password):
        if username == "let_me_in" and password == "please":
            user_klass = get_user_model()
            new_user = user_klass(username=uuid.uuid4().__str__())
            new_user.set_unusable_password()
            new_user.save()
            return new_user
        else:
            return None
That’s it! We’ve successfully created and used our own custom authentication backend in Django.